Artstation: https://www.artstation.com/artwork/DNbyG
Next up was to actually produce some work! I used a production pipeline similar to one that would be used for a realistically styled game by following a few tutorials and modifying parts of them.
My process ended up like this:
Character model:
- Concepting
- Base low poly model in 3ds Max
- Sculpting in Zbrush
- Retopologizing in Max
- UV Unwrapping in Max with the TexTools plugin
- Baking Normals in XNormal
- Texturing in Quixel
- Testing in Unity
- Skinning in Max
- Animation in Max
- Testing in Unity
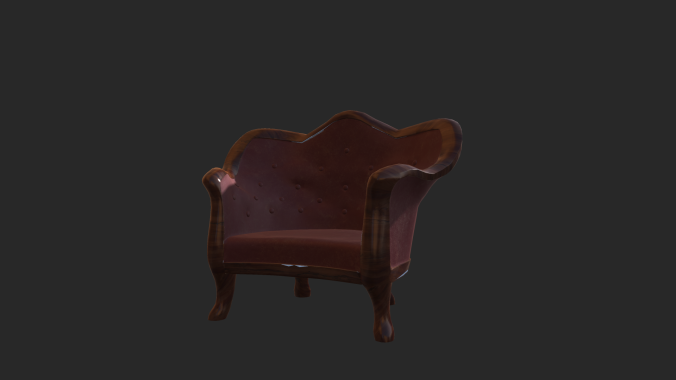
Other Assets:
- Referencing
- Modelling in Max
- UV unwrapping in Max using TexTools
- Texturing in Quixel
- Testing in Unity
Concepting

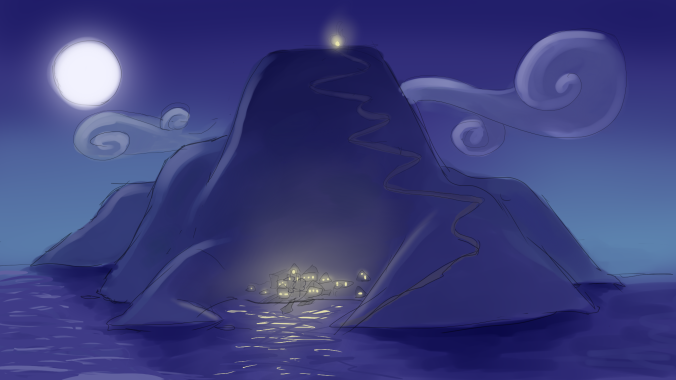
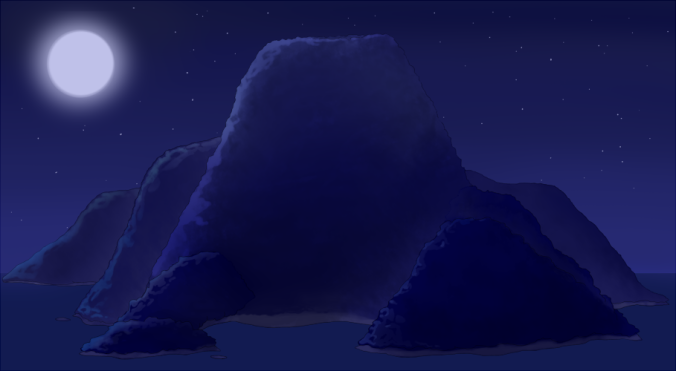
I chose to do the snowy landscape theme for my part of the endless runner and so tried to create a character that would look like the fit in that kind of environment. My first concept was the one to the left, but I decided to scrap that one because it didn’t really have a purpose or role, so I designed the second character to be a hunter and tried to convey a little more personality in her design.
Modelling

Because I hadn’t used Zbrush before I decided to start with a base for the body to at least have somewhere to start with my sculpt. I studied appropriate face topology for this and actually reused the head of this model when retopologizing.
Sculpting
http://www.digitaltutors.com/tutorial/1093-Introduction-to-ZBrush
I closely followed this ‘Introduction to Zbrush’ course on Digital Tutors to learn how to sculpt and applied what I learned to my character, like what tools are, the hotkeys, how to edit the resolution of your mesh and all sorts of other things. I found it incredibly helpful and probably wouldn’t have been able to figure Zbrush out without it! To do the clothes and hair I referred to these tutorials on Youtube because the digital tutors one didn’t cover that. (ANM220.LO07 Evaluate the literature on contemporary animation practice and use this information to shape and develop your own practice)

Progress shot

Final sculpt
Retopologizing
http://www.digitaltutors.com/tutorial/2291-Creating-a-Stylized-Creature-for-Games-in-ZBrush#overview
I used a course called ‘Creating a stylized Creature for Games Using 3DS Max and ZBrush’ to learn how to export my sculpt from Zbrush to 3DS Max and retopologize. I found the process much simpler than I was expecting though it was quite time consuming! I mainly used the extend tool in the freeform ribbon tab. I made sure to keep animation appropriate topology and keep it relatively low poly since it would be animated and in a game. (ANM220.LO07 Evaluate the literature on contemporary animation practice and use this information to shape and develop your own practice)

UV Unwrapping
The ‘Creating a stylized Creature for Games Using 3DS Max and ZBrush’ also came in really handy for this! It suggested to use TexTools and I found that incredibly helpful and think it sped up my process quite a lot! Along with this it showed how to use symmetry with your UVs which saved me heaps of texture space.

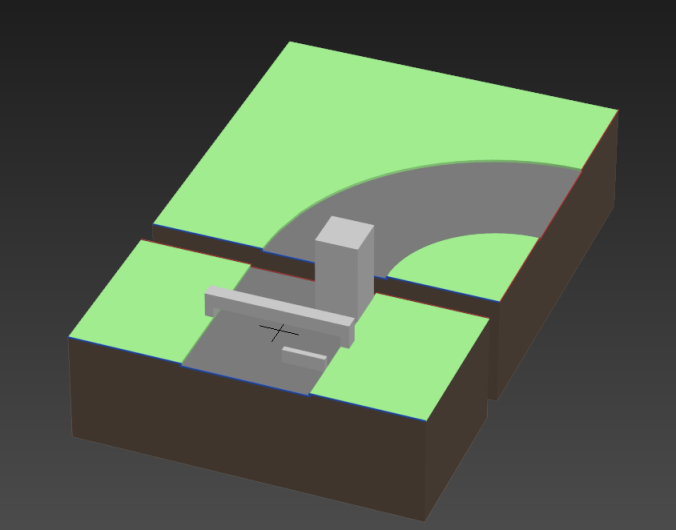
Baking Normals
Again, I used the ‘Creating a stylized Creature for Games Using 3DS Max and ZBrush’ and it recommended separating all the different parts of the mesh and sculpt to do an exploded bake for better quality, so I went ahead and did that. I then plugged both my high and low poly meshes into X normal and baked it out. I had to play with settings like the padding until I got something I was happy with, and fixed the rest of the obvious errors in Photoshop by painting over them. I should do a little more research into how to do this better in the future because there were quite a few iffy bits!
Texturing
Before bringing my model into Quixel I baked out an AO map in X normal too, which I found much easier to do than in Max! I then played around with the materials in Quixel until I had textures I was happy with. I then tested out the textures in unity and found out it didn’t support gloss maps, but I felt they weren’t really needed.
Skinning and Animation
I then skinned it and animated the final run cycle for the game which I went over in this post. I then opened everything up in unity again for a final test, then uploaded the final .fbx files for use!
For the other assets I went through a similar process, but only using the steps outlined in the list at the top of this post. (ANM220.LO09 Research, design and implement a production pipeline for a chosen specialisation.)
Here’s some footage of the final game! We collaborated with Chris Gleeson, an audio student to provide us with a different background track to better suit every different theme, and it’s a shame that all the audio that was made couldn’t be used because not all of themes had complete model sets. Along with this some sound effects for the characters voices were added for when they jump, slide, get a pick up, or hit something. (ANM220.LO02 Effectively integrate sound with animation.)
References:

http://www.digitaltutors.com/tutorial/2291-Creating-a-Stylized-Creature-for-Games-in-ZBrush#overview

http://blog.digitaltutors.com/understanding-a-3d-production-pipeline-learning-the-basics/

https://www.pluralsight.com/courses/game-asset-production-pipeline-unity-1929

http://blog.digitaltutors.com/whats-the-difference-a-comparison-of-modeling-for-games-and-modeling-for-movies/